Jackery – Home Assistant Energy Monitoring Integration
![]()


⚠️ Beta Stage: This integration is currently in Beta testing phase and may be unstable. Please use with caution and report any issues.
Jackery is a custom Home Assistant integration that uses MQTT to monitor solar, grid, battery, EPS and home energy data from a Jackery energy system.
The integration is implemented in custom_components/Jackery/sensor.py and is built around a shared coordinator (JackeryDataCoordinator) that efficiently manages subscriptions and data requests for all sensors.
Features
- Custom Home Assistant integration (no YAML entities required)
- MQTT-based data flow with a shared
JackeryDataCoordinator - Periodic
data_getrequests every 5 seconds for all sensors - Real-time power sensors (W) and cumulative energy sensors (kWh)
- Battery SoC in percent with proper scaling
- Ready-to-use example configuration for Energy Flow Card Plus
Prerequisites
Before the Jackery integration can receive any data, two things must be in place:
-
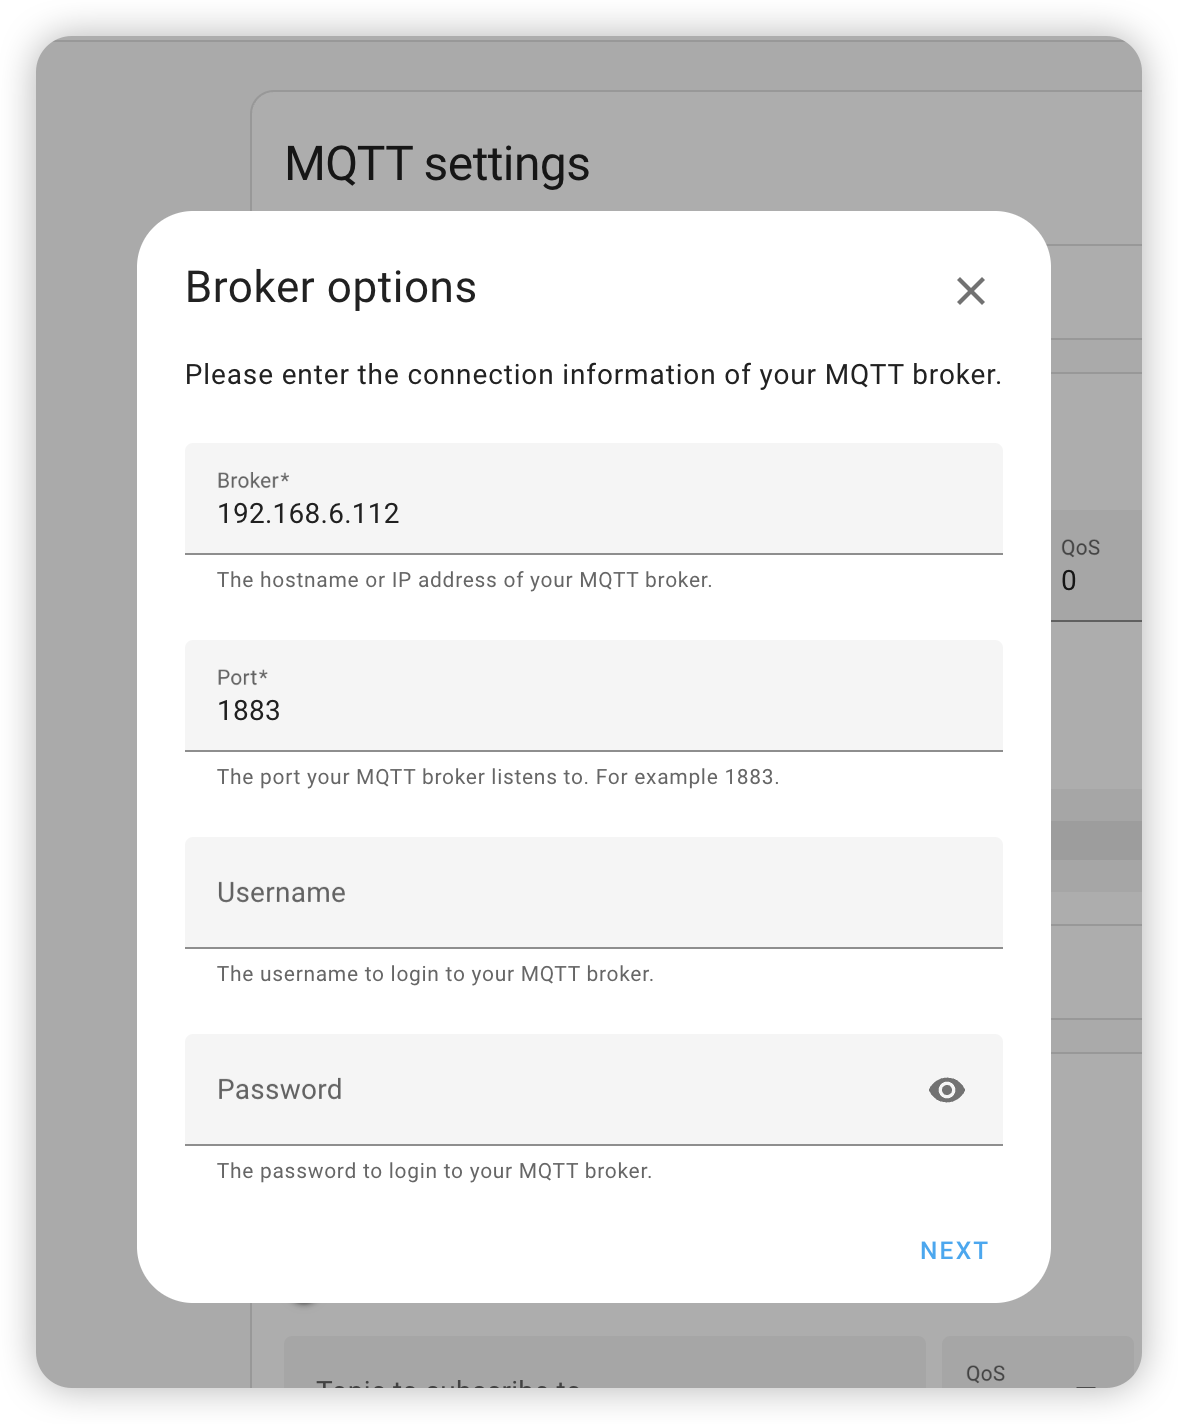
MQTT broker/server is configured and reachable
- A running MQTT broker (e.g. Mosquitto, EMQX, etc.) is required.
- Home Assistant's built‑in MQTT integration must be configured to connect to this broker.
- The broker address, port, username/password (if any) should match what your device and simulator are using.
- In your MQTT configuration, replace the IP with the address of your own MQTT server.
-
Device is configured from the Jackery app
- Use the vendor/Jackery mobile app to add the device/gateway and complete its initial setup.
- ⚠️ APP Version Requirement: Jackery APP version must be greater than 2.10.18 to support this integration.
- Make sure the device has network access and is configured so that it can connect to your MQTT/cloud backend.
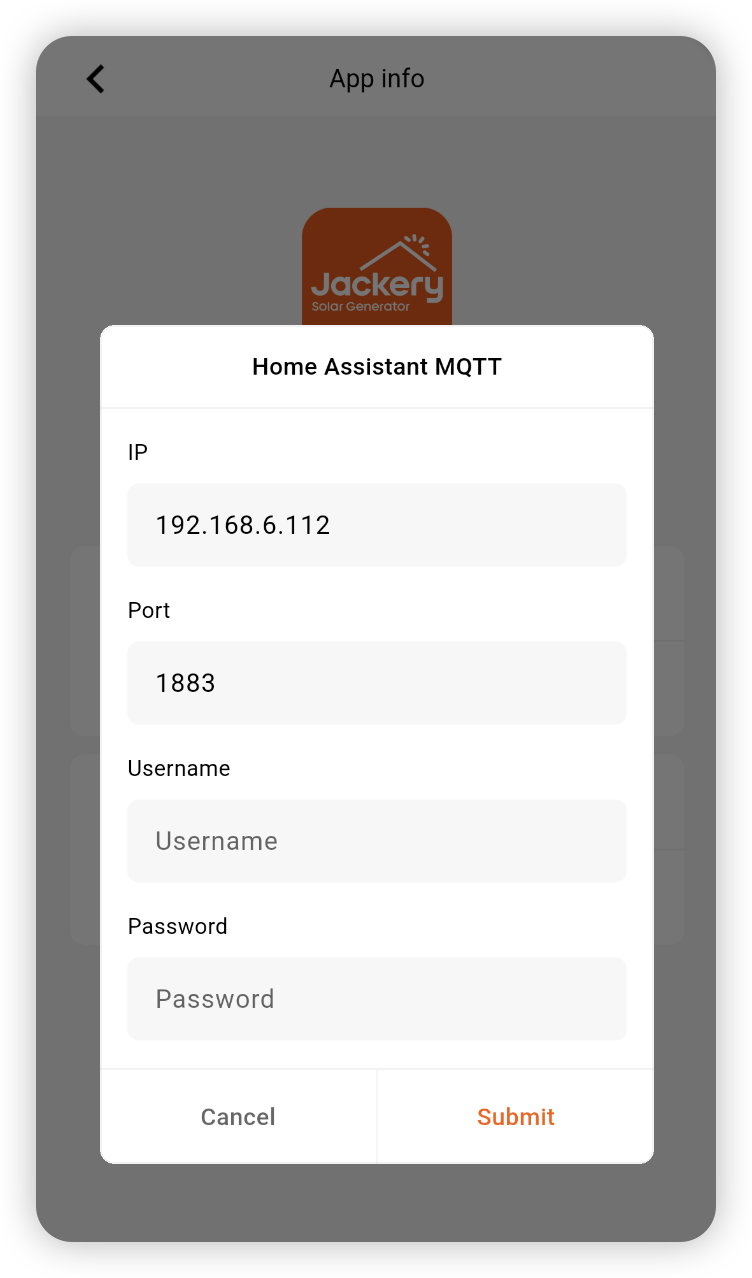
- In the Jackery app, long-press the app logo to open the configuration screen.
- In the Jackery app configuration, replace the IP with the address of your own MQTT server.


Installation
Option A: Install via HACS (recommended)
-
Add custom repository
- Open HACS in Home Assistant
- Click the three dots in the top-right → Custom repositories
- Add repository URL:
https://github.com/suyulin/jackery - Category:
Integration - Click Add
-
Install the integration
- In HACS, search for "Jackery"
- Click Install
- Restart Home Assistant
-
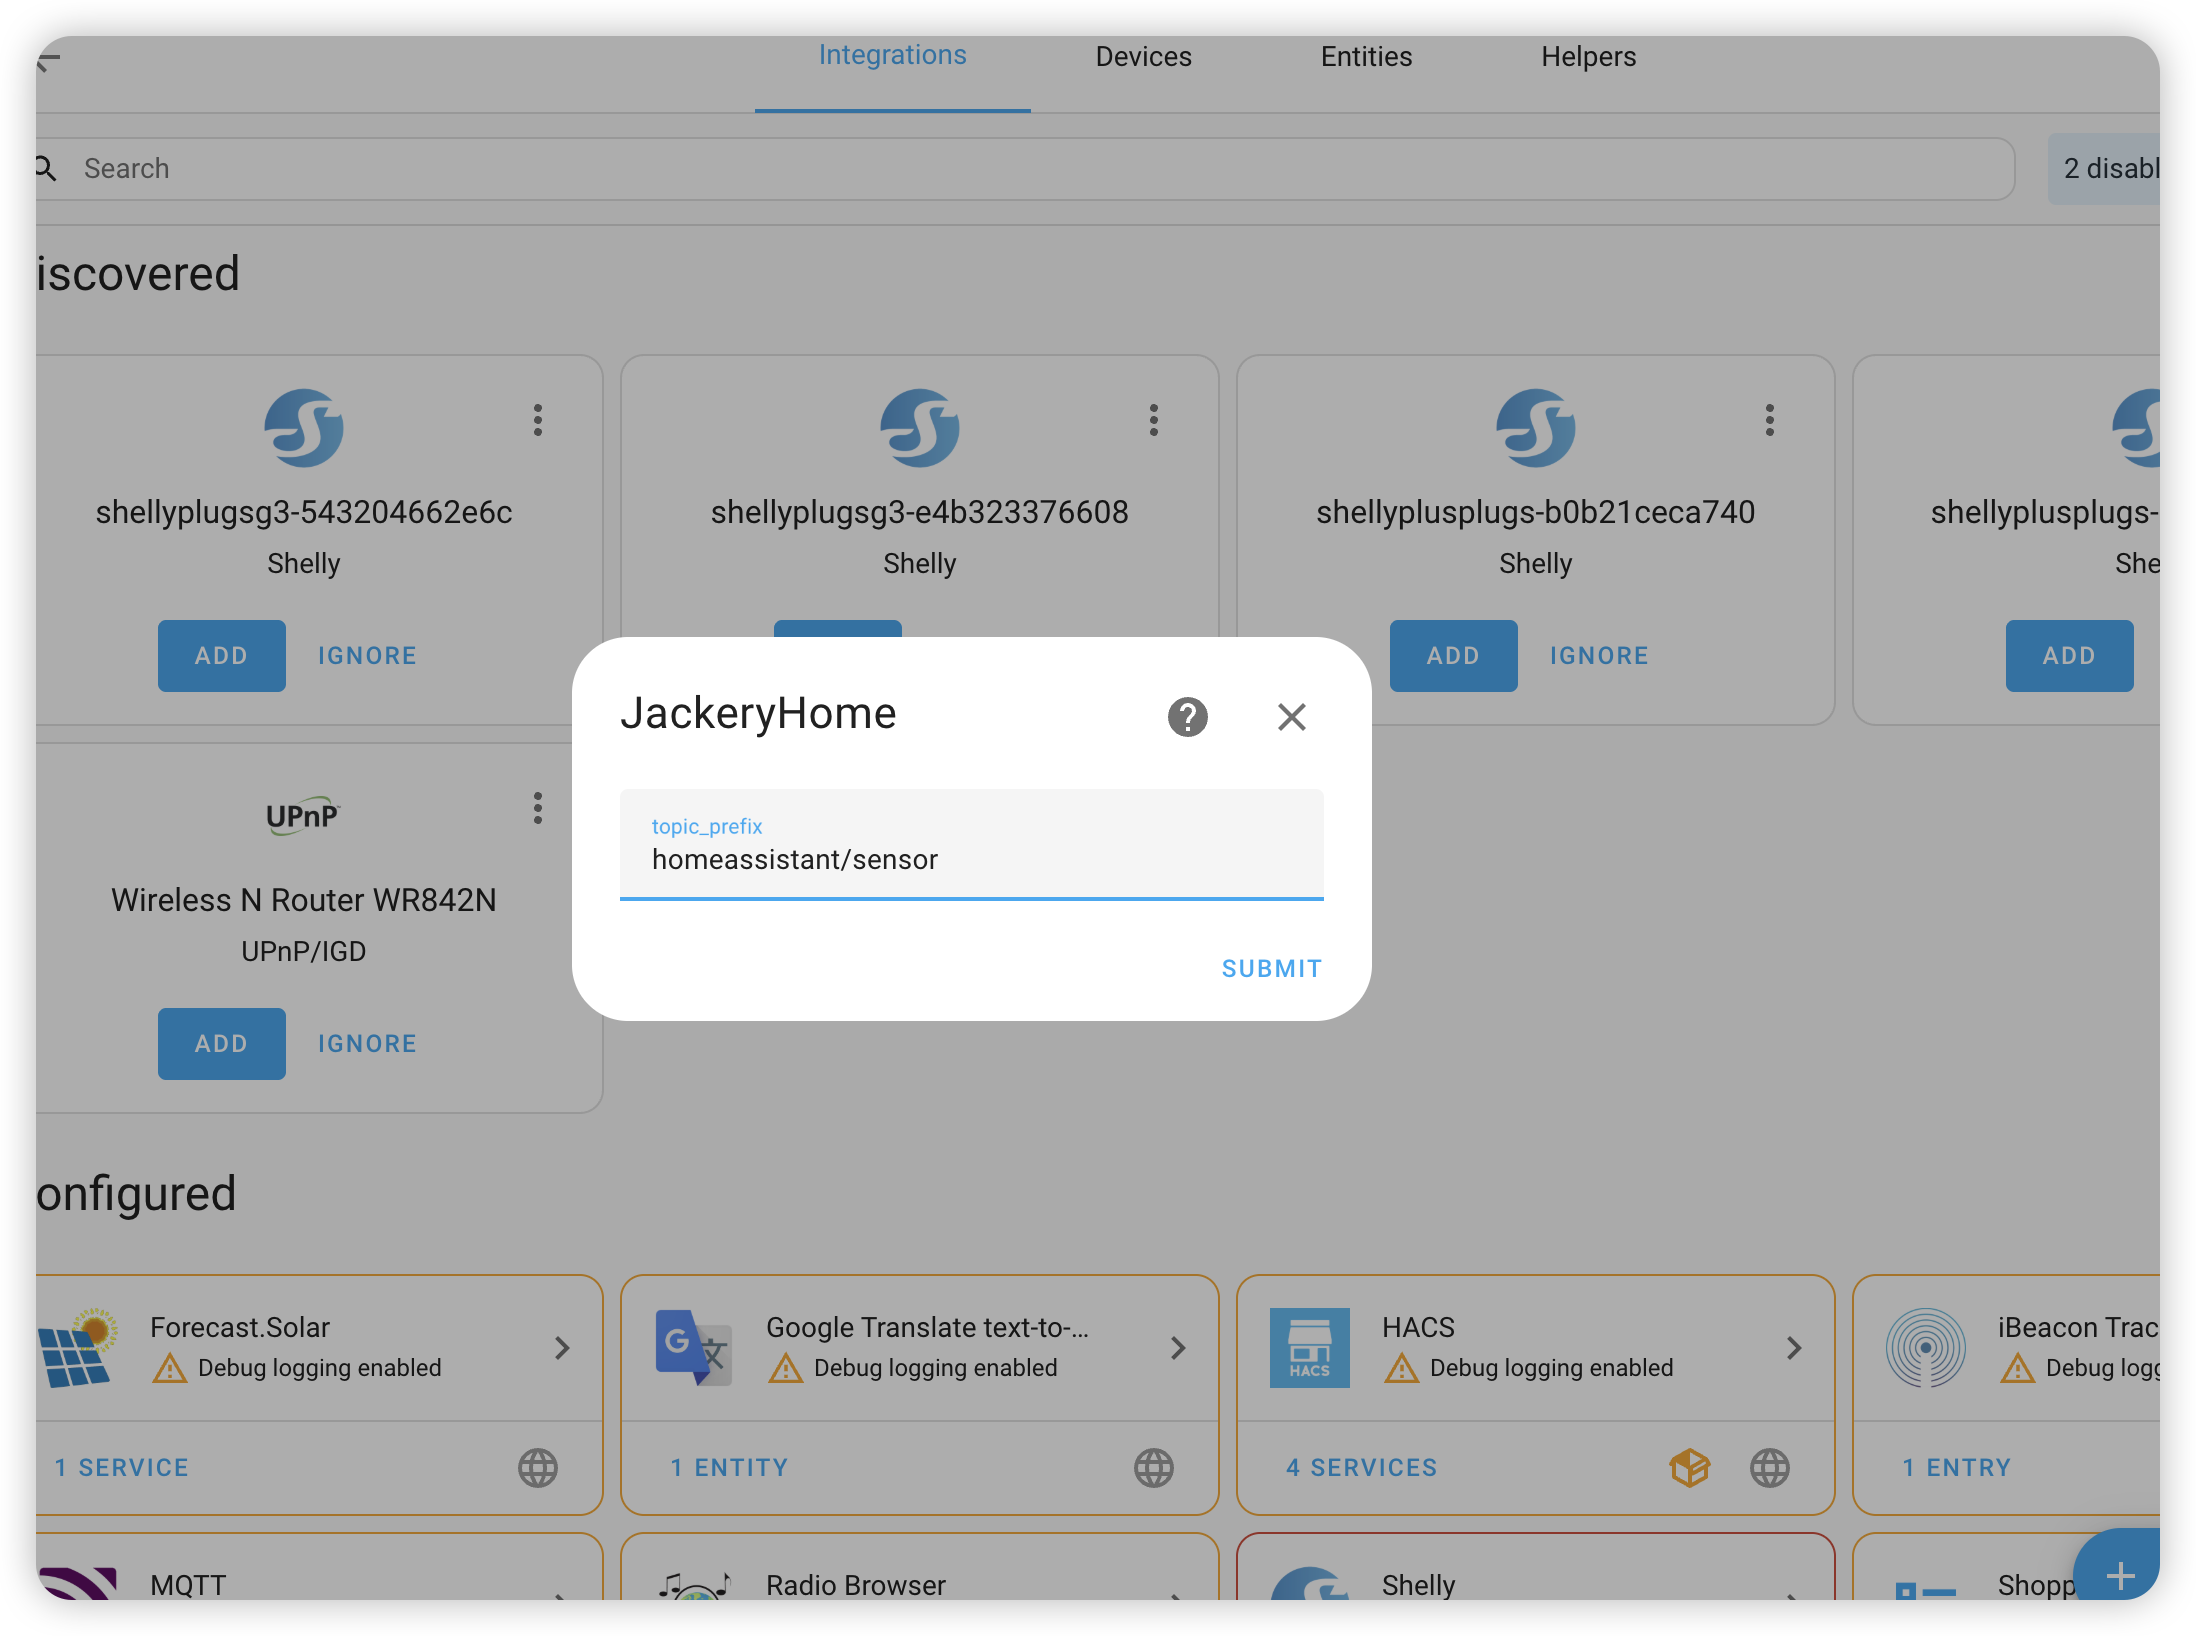
Configure the integration
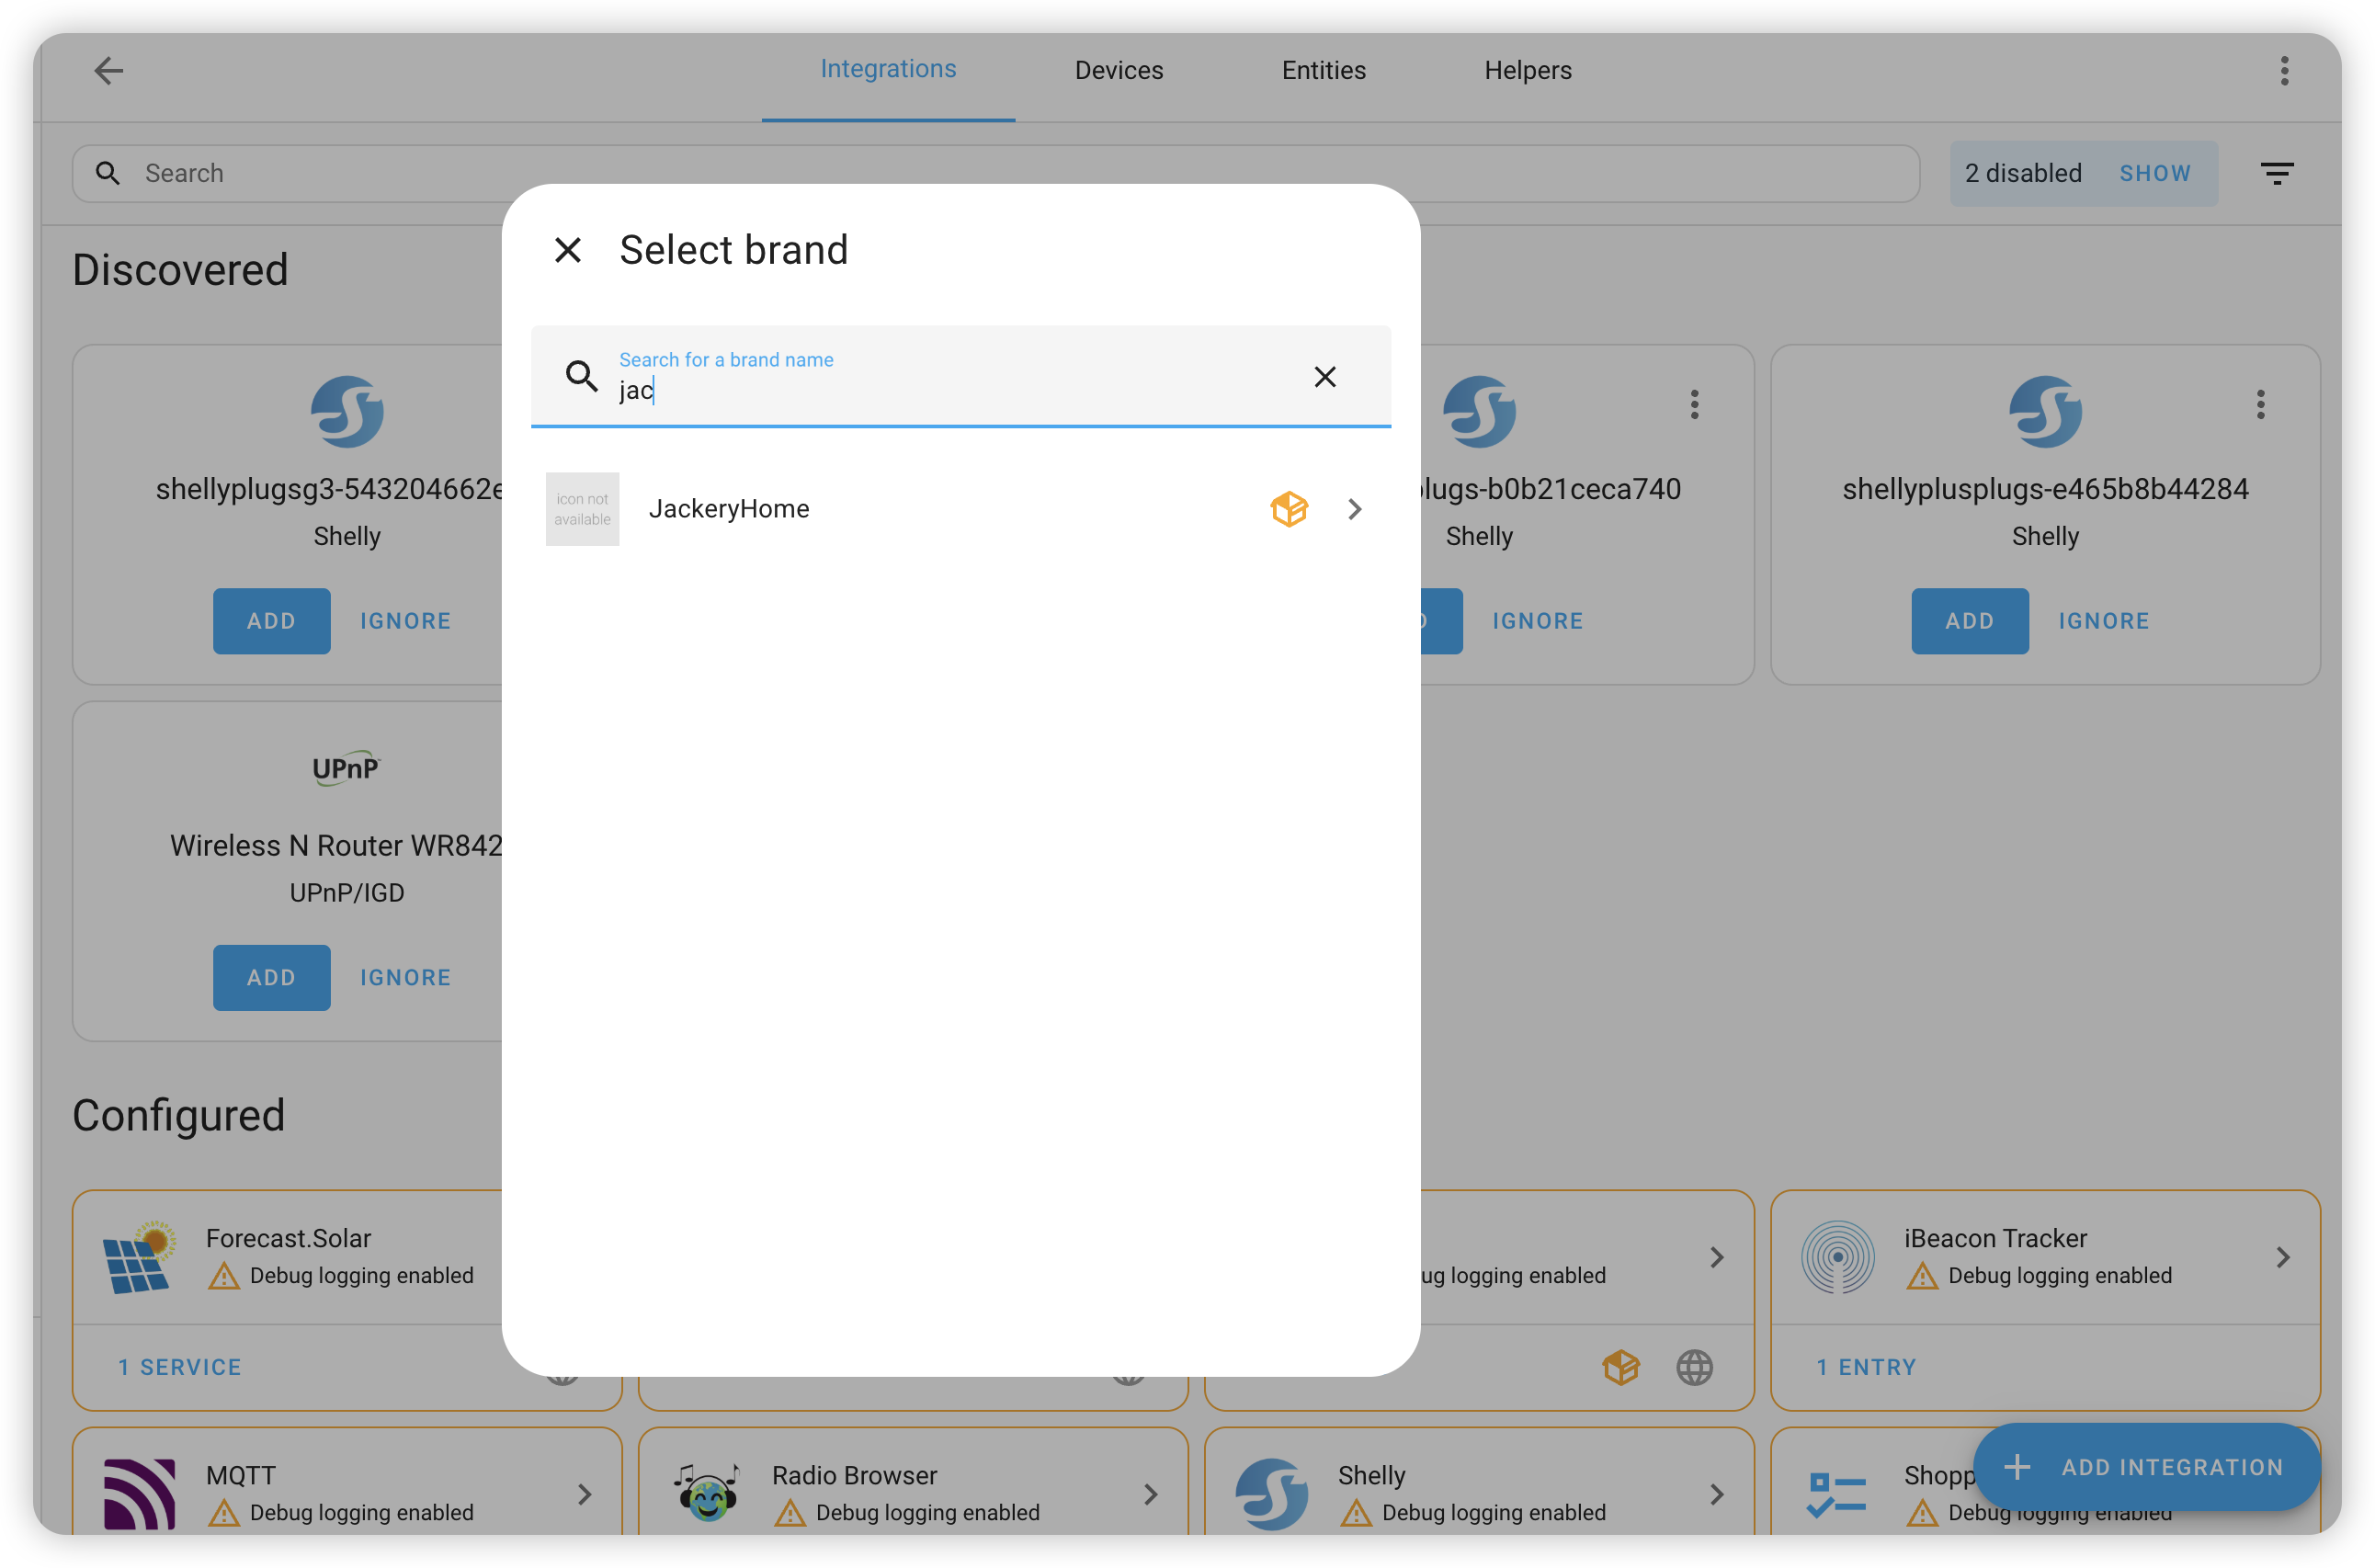
- Go to Settings → Devices & Services → Add Integration
- Search for "Jackery"
- Enter your Token (Required for authentication)
- You can find this token in your Jackery app settings or device documentation.
- Enter an MQTT topic prefix if needed (default:
hb) - Submit to finish configuration


Requirement: The built-in MQTT integration must be configured and connected to your MQTT broker before Jackery will work.
Example: Energy Flow Card Plus
You can use these sensors with the Energy Flow Card Plus Lovelace card.
Install the card
-
Via HACS (recommended):
- HACS → Frontend → search for "Energy Flow Card Plus" → install → restart HA.
-
Manual:
- Download from the GitHub repository.
- Place files under
www/community/energy-flow-card-plus/. - Add a Lovelace resource pointing to
/hacsfiles/energy-flow-card-plus/energy-flow-card-plus.js(type: JavaScript module).
Basic configuration example
type: custom:energy-flow-card-plus
entities:
  solar:
    entity: sensor.solar_power
    name: Solar
    icon: mdi:solar-power
  grid:
    entity:
      consumption: sensor.grid_import_power    # buying from grid
      production: sensor.grid_export_power    # selling to grid
    name: Grid
    icon: mdi:transmission-tower
  battery:
    entity:
      consumption: sensor.battery_charge_power      # charging
      production: sensor.battery_discharge_power    # discharging
    state_of_charge: sensor.battery_soc
    name: Battery
    icon: mdi:battery
  home:
    entity: sensor.home_power
    name: Home
    icon: mdi:home-lightning-bolt
display_zero_lines:
  mode: show
  transparency: 50
  grey_color: [189, 189, 189]
w_decimals: 0
kw_decimals: 2
color_icons: true
animation_speed: 10
energy_date_selection: false

Energy

Notes & Requirements
- The MQTT broker must be running before you start the simulator or expect data in Home Assistant.
- The integration sends a single
data_getrequest every 5 seconds for all sensors, reducing MQTT traffic. - The device serial number (
device_sn) is automatically obtained from LWT messages; no manual configuration is required. - When the MQTT broker is unavailable, the coordinator logs a warning and retries automatically.
Links
- Energy Flow Card Plus –
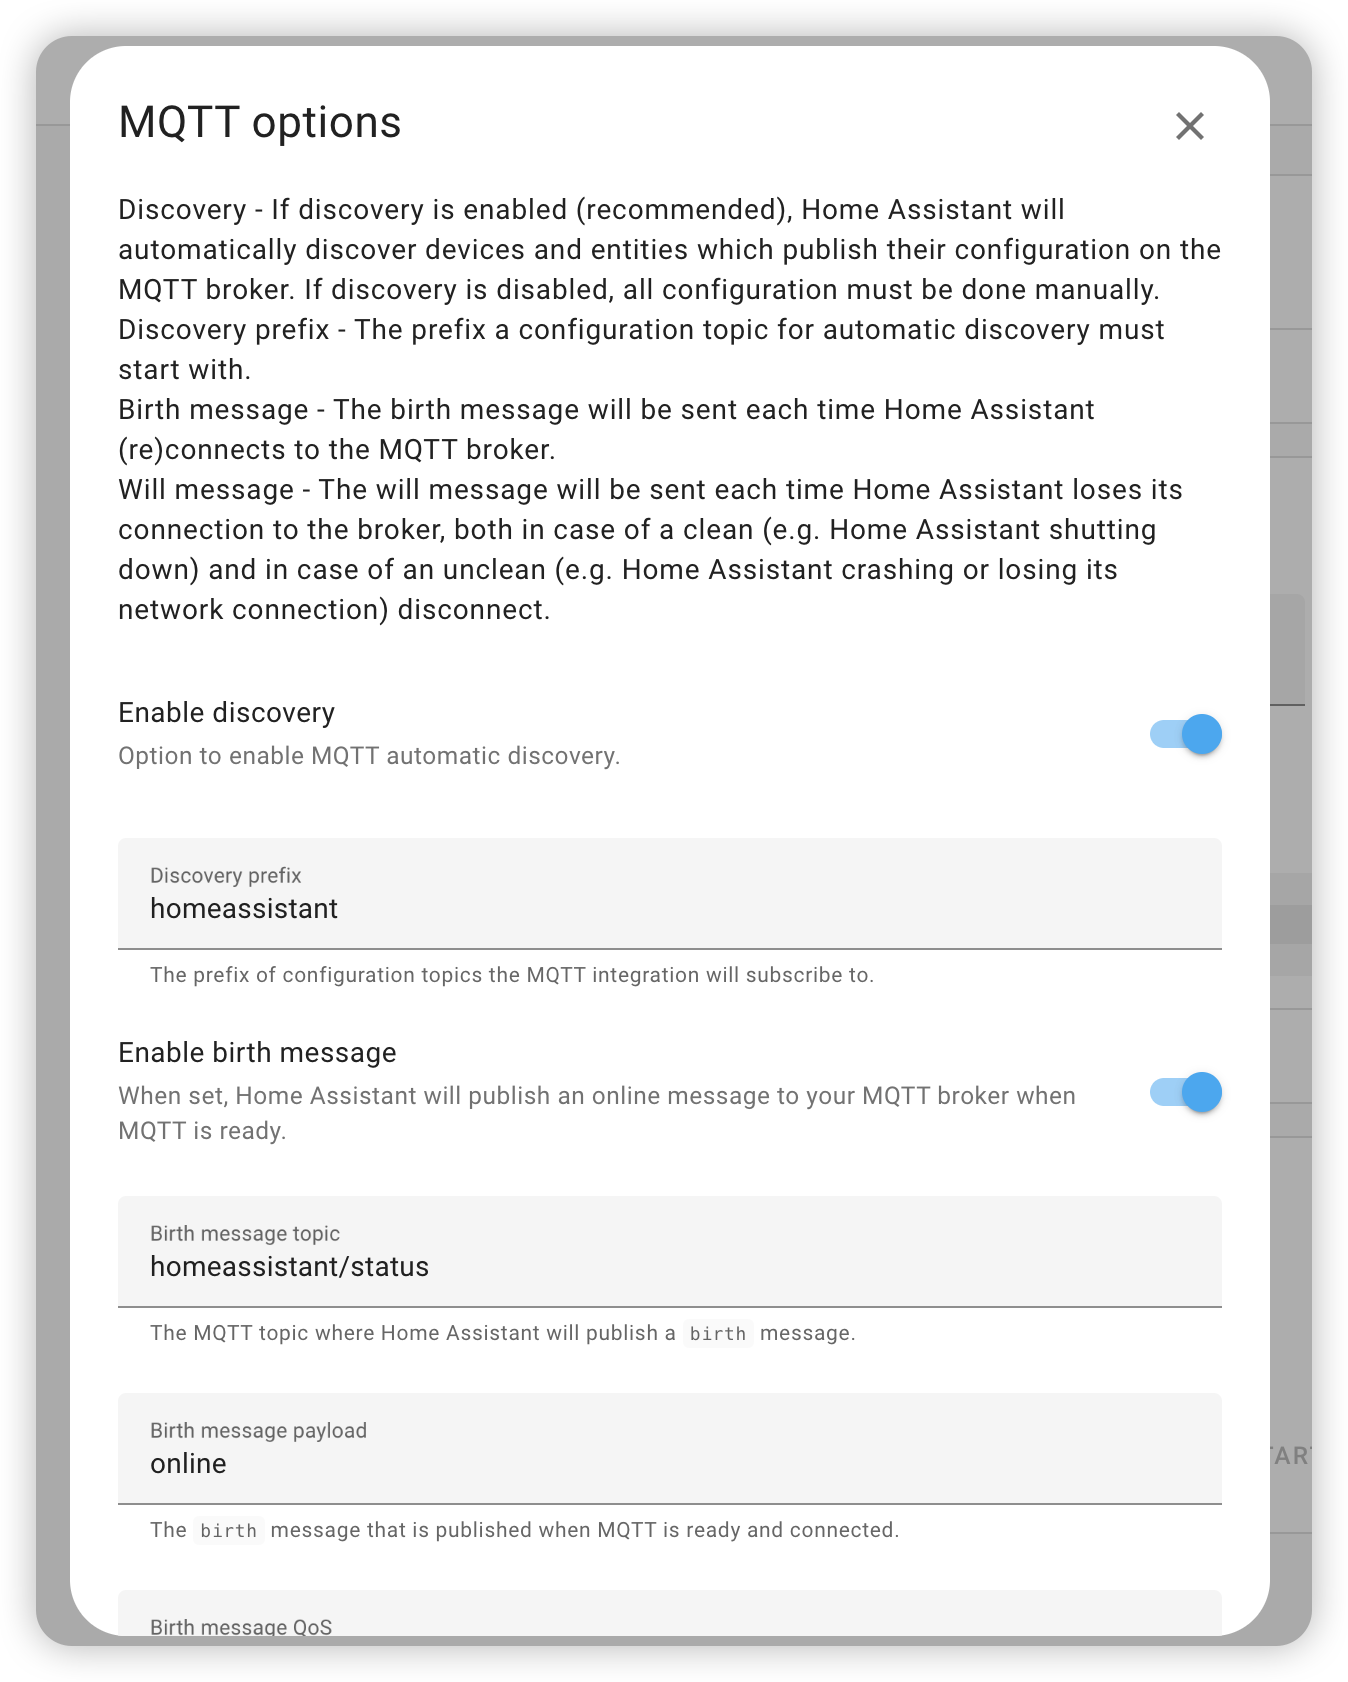
https://github.com/flixlix/energy-flow-card-plus - Home Assistant MQTT Discovery –
https://www.home-assistant.io/integrations/mqtt/#mqtt-discovery - Home Assistant Developer Docs –
https://developers.home-assistant.io/ - Paho MQTT Python Client –
https://github.com/eclipse/paho.mqtt.python
License
MIT License